> For the complete documentation index, see [llms.txt](https://learn.squirrel365.io/llms.txt). Markdown versions of documentation pages are available by appending `.md` to page URLs; this page is available as [Markdown](https://learn.squirrel365.io/publishing-and-sharing/progressive-web-apps-pwa.md).
# Progressive Web Apps (PWA)
A Progressive Web App (PWA) is a web application that combines the best of both worlds – the web and native applications. PWAs use web technologies to create an app-like experience, which is accessible from any device and platform.
They can be installed on devices similar to native apps, work offline, and integrate with the device and other installed apps. In other words, PWAs are a combination of the benefits of a website’s reach and the advantages of a native application’s functionality.
## **PWA Properties**
{% hint style="info" %}
Squirrel 1.16 has introduced PWA capabilities to the product as part of its new Project Settings functionality. You can find these settings under the ‘**File**‘ tab. For more information on the new Project Settings, [click here](https://community.squirrel365.io/c/feature-highlights/1-16-highlight-relocated-project-settings).
{% endhint %}
The modal contains all the properties needed to convert your project into a Progressive Web App.
To first enable the option for creating a PWA, check the “Enable PWA” toggle switch to display the available properties.
These properties break down into the following:
* **Info**
* **Colors & Icons**
* **App Store – coming soon!**
We will go through each of these areas and what each achieves.
### **Info**
In this tab, you will find all the non-visual properties of your PWA. These include
1. **Name** *(required)* – This field is where the name of your app is entered. By default, it will enter the current name of the project that is set under ‘Publish Options’.
2. **Short Name** – This is an optional field that will be used to display with your app should the name chosen above be too long. This will display alongside the icon on the desktop/ mobile UI. *(We recommend a short name no longer than 12 characters)*
3. **Description** – This is where you will describe the functionality and purpose of your application. This will be visible in some app stores.
### **Colors & Icons**
This tab contains all the visual properties of your application. This includes the application’s icon, background color, and theme color.
1. Background color – This set color will be the default of your application before any other styles are loaded. Once loaded, this color will be overwritten by the background colors defined by your CSS.
2. Theme color – this setting is used by some browsers to style the webpage when viewing the app. This includes the status bar, address bar, and other parts of the UI (e.g. the title bar of your application when downloaded to Windows.)
3. Icon *(required)* – this is where you will select an image to create your app icon. Squirrel automatically generates the assets required for your app to work across devices.
Image requirements:
Max file size of 5MB
Image formats: JPEG, PNG, SVG
Recommended size: 180x180px
Once you have set and selected all your PWA properties, click ‘OK’ and save your project.
### **Accessing your PWA**
To access your newly created PWA, you will need to publish your project and open it in the browser. There are a few ways to download your created application, and there are a few that are specific to the browser.
### **Downloading to PC**
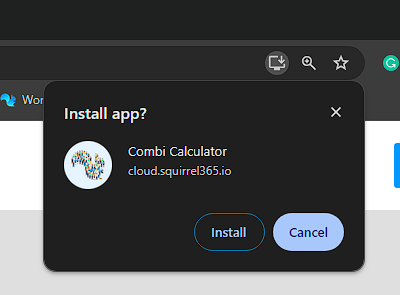
#### **Chrome**
To download from Google Chrome, open the published project link in the Chrome browser. A small download icon will appear at the end of the address bar – select this and you will be prompted to install the application.
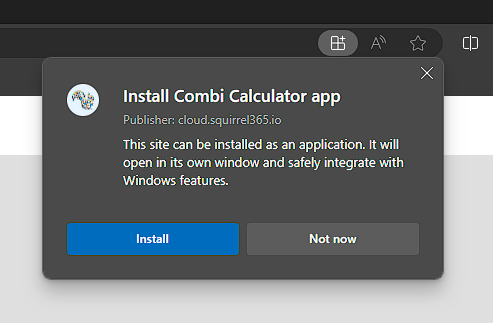
#### **Microsoft Edge**
To download from Microsoft Edge, open the published project link in the Edge browser. A small download icon will appear at the end of the address bar – select this and you will be prompted to install the application.
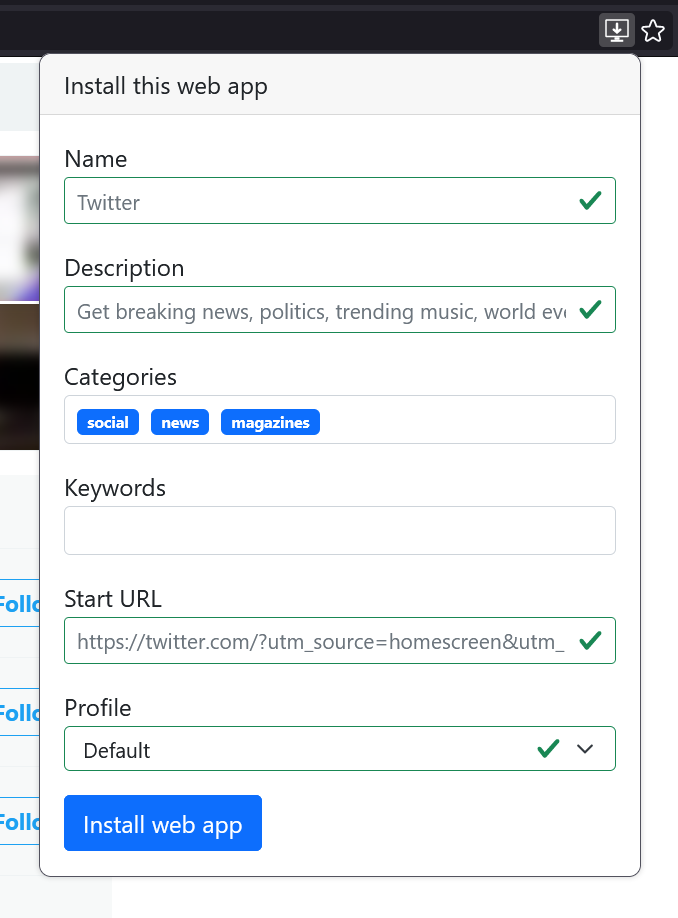
#### **Mozilla Firefox**
To download from Mozilla Firefox, you will need the ‘Progressive Web Apps for Firefox’ add-in downloaded for the browser. Once installed, a download icon will appear at the end of the address bar where you can install the web application.
### **Downloading to Mobile**
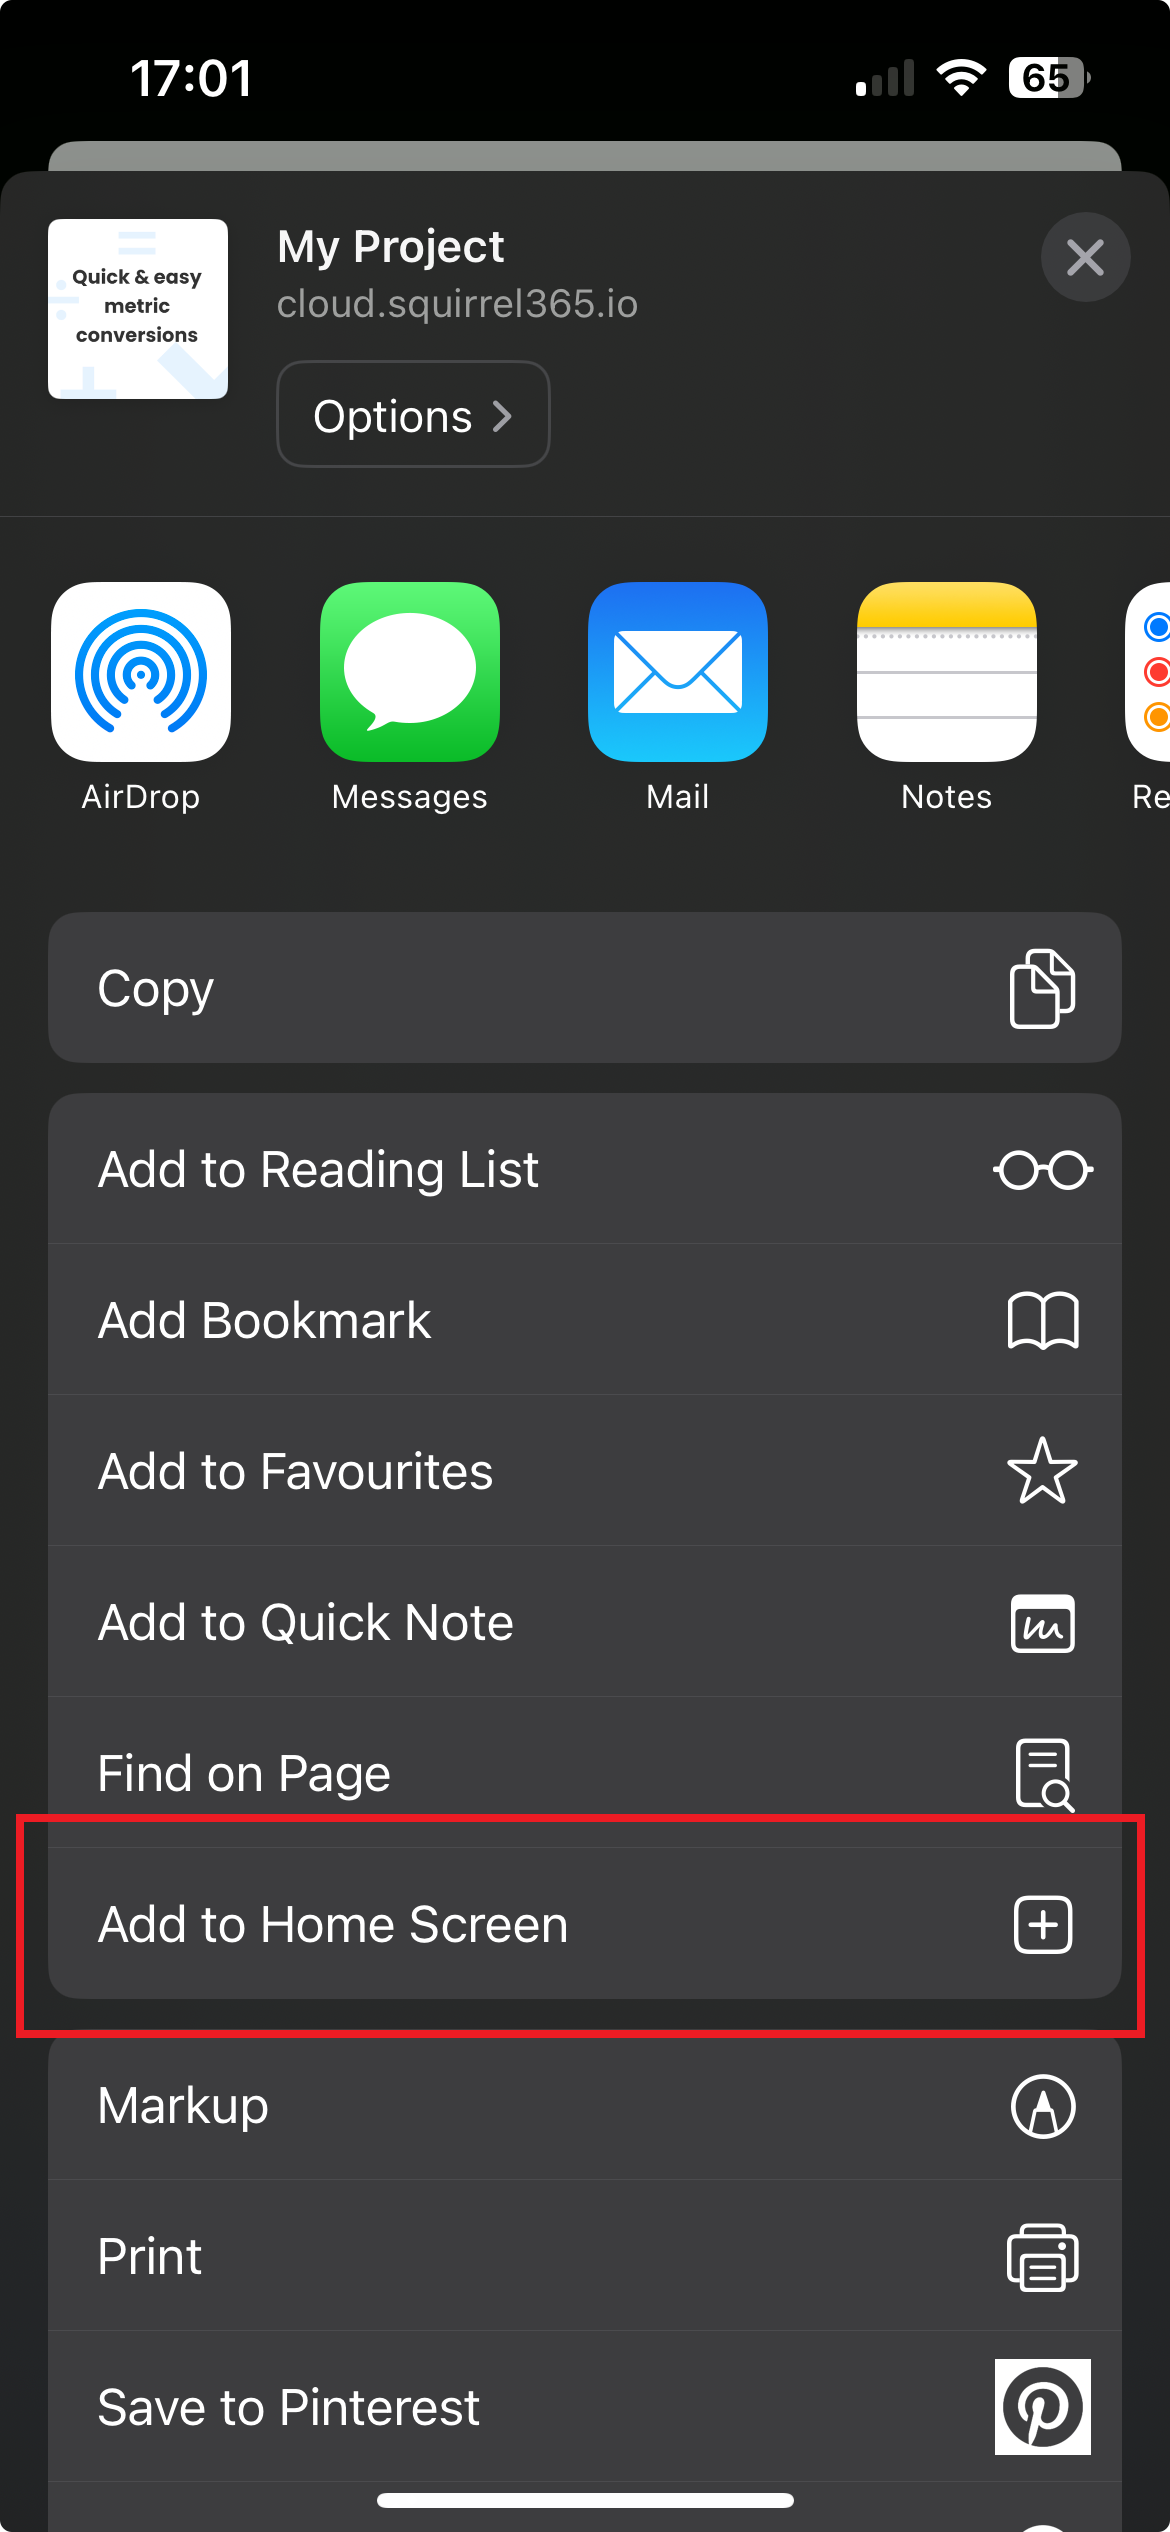
#### **iPhone**
To download from an iPhone browser, open the published project link in the selected browser and select the Share button.
Navigate to and select “Add to Home Screen”
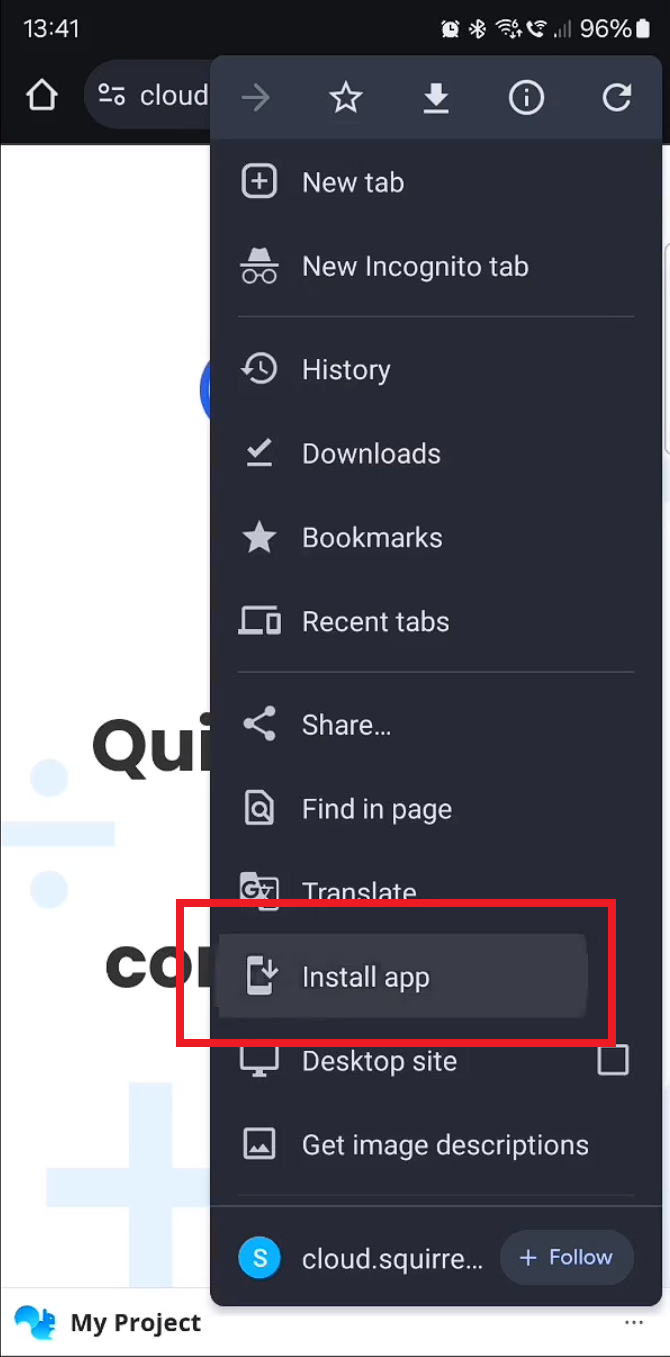
#### **Android**
To download from an Android browser, open the published project link in the selected browser and select the More Options button.
Navigate to and select “Install App” – you will then be prompted to confirm the installation.